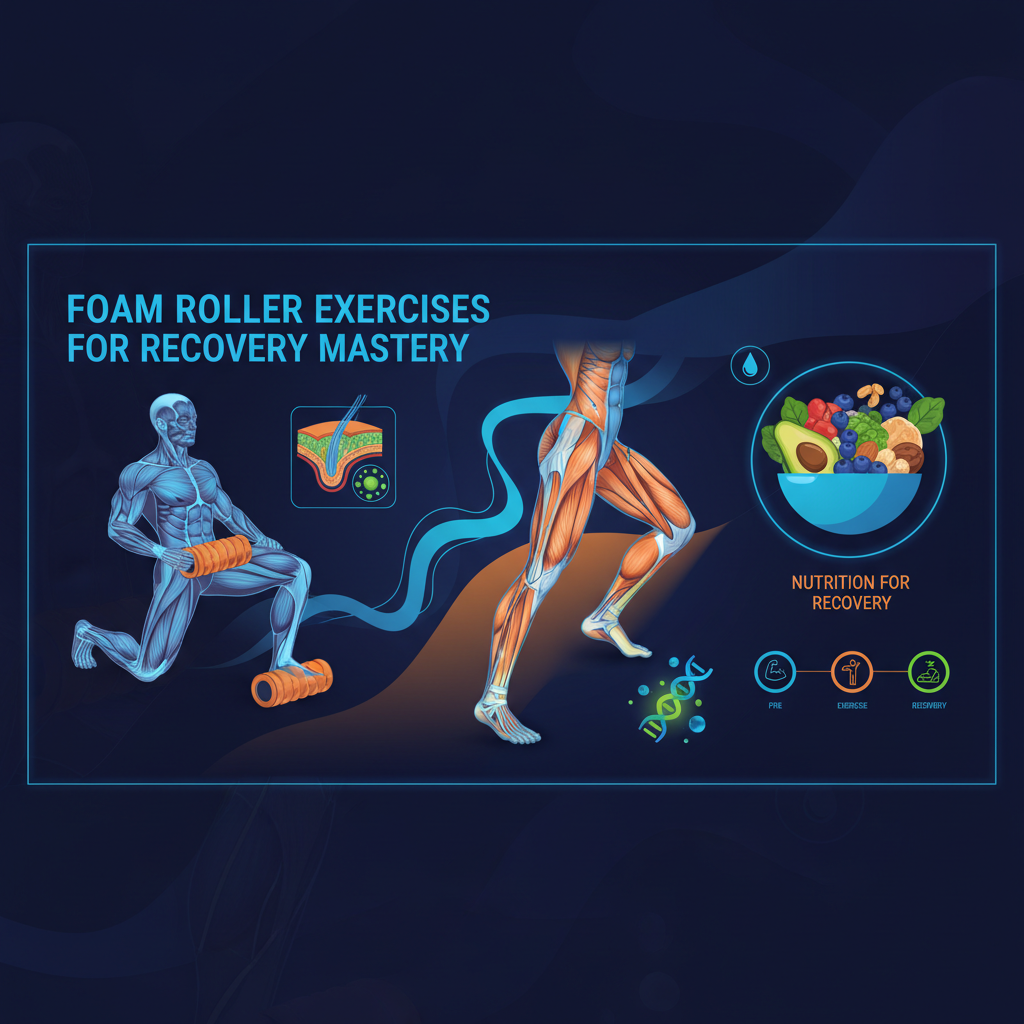
Master Your Recovery: Foam Roller Exercises for Peak Performance
(SEO Title: Foam Roller Exercises for Recovery Mastery)
(Meta Description: Unlock faster recovery and reduce soreness with expert foam roller exercises. Boost your performance and feel your best. Try FitForge AI free!)
H2: The Science of Soreness: Why Recovery Matters
As athletes and fitness enthusiasts, we push our bodies. That delightful ache you feel after a tough workout? It's a sign of muscle damage – microscopic tears that, when repaired, make your muscles stronger and more resilient. This process is called muscle protein synthesis, and it's fundamental to progress.
However, inadequate recovery can stall your gains, increase injury risk, and lead to chronic fatigue. This is where myofascial release techniques, particularly using a foam roller, come into play.
H3: Understanding Fascia and Its Role
Fascia is a connective tissue web that surrounds and separates muscles, bones, and organs. Think of it like a built-in, full-body compression suit. When fascia becomes tight or develops adhesions (knots), it can restrict movement, reduce muscle function, and cause pain. Foam rolling helps to release these adhesions, improving blood flow and restoring optimal tissue length and function. This aligns with NASM's focus on the kinetic chain – maintaining the health and mobility of one part of the body affects all others.
H2: Your Essential Foam Roller Toolkit
Not all foam rollers are created equal. Here's what to consider:
- Density: Beginners often benefit from softer, lower-density rollers. More experienced users might prefer firmer rollers for deeper pressure.
- Surface Texture: Smooth rollers are standard. Those with ridges or knobs offer more targeted, intense pressure.
- Size: Standard 36-inch rollers are versatile. Shorter, 12-18 inch rollers are great for travel and targeting specific muscle groups.
This guide assumes you're using a standard 36-inch smooth foam roller.
H2: Foam Roller Exercises: Targeting Key Muscle Groups
Remember to breathe deeply and relax as you roll. Move slowly, pausing on tender spots for 20-30 seconds, but avoid rolling directly over joints or bones. Aim for 1-2 minutes per muscle group, pre- or post-workout.
H3: Lower Body
H3: Quads (Quadriceps)
- How-to: Lie face down, placing the foam roller across your upper thighs. Support your body with your forearms. Slowly roll from just above your knees to your hips.
- Tips: Keep your core engaged to protect your lower back. For a deeper stretch, cross one leg over the other, targeting one quad at a time.
H3: Hamstrings
- How-to: Sit on the floor with the roller under your thighs. Place your hands behind you for support and lift your hips. Roll from your knees to your glutes.
- Tips: Bend one knee and cross the ankle of the bent leg over the opposite knee to increase pressure on the targeted hamstring. Rotate your legs inward and outward to hit different hamstring fibers.
H3: Glutes
- How-to: Sit on the roller with one glute. Cross your ankle of the same side over the opposite knee, creating a "figure 4" position. Lean into the bent glute, supporting yourself with your hands. Roll slowly over the glute muscle.
- Tips: This can be intense. Focus on small, circular motions to find tight spots.
H3: Calves
- How-to: Sit on the floor with the roller under your calves. Support yourself with your hands behind you. Lift your hips and slowly roll from your ankles to just below your knees.
- Tips: Cross one leg over the other to increase pressure. You can also rotate your feet inward and outward.
H3: IT Band (Iliotibial Band)
- How-to: Lie on your side with the roller positioned beneath your outer thigh. Support your upper body with your forearm. Prop your top leg forward, foot flat on the floor, to help control pressure. Roll from just above your knee to your hip.
- Tips: This area can be very sensitive. Apply pressure gradually. Avoid rolling directly onto the hip bone.
H3: Upper Body
H3: Thoracic Spine (Upper Back)
- How-to: Lie on your back with the roller placed horizontally under your shoulder blades. Bend your knees, feet flat on the floor. Support your head with your hands, elbows bent. Gently lift your hips slightly off the floor and slowly roll up and down your upper back, from the bottom of your rib cage to your upper shoulders.
- Tips: Crucially, do not roll your lower back where the spine has a natural inward curve. Focus on the thoracic region. You can also gently lean back over the roller to create a chest-opening stretch.
H3: Lats (Latissimus Dorsi)
Get your free Day 1 workout — no card required.
Meet Andy — get your free Day 1 workout- How-to: Lie on your side with the roller under your armpit, extending down your rib cage. Extend your arm overhead. Roll slowly along the side of your torso.
- Tips: Keep your core engaged. You should feel this along the side of your torso.
H3: Chest and Shoulders (Pectorals/Anterior Deltoids)
- How-to: Place the roller on the floor. Lie down so the roller is positioned along your spine from head to tailbone (like a hot dog bun). Bring your arms out to the sides, palms up, or in a "goalpost" position. Let gravity gently stretch your chest and shoulders. You can also carefully place the roller under your upper shoulder/chest area and use your feet to gently roll small sections.
- Tips: This is more of a static stretch/mobilization than a rolling exercise. Focus on relaxation and deep breathing.
H2: Integrating Foam Rolling into Your Routine (NASM Principles)
Foam rolling is a fantastic tool for self-myofascial release (SMR), a technique supported by evidence-based training principles. It complements other recovery strategies and can be integrated at various points:
- Pre-Workout Warm-up: Use lighter pressure and dynamic movements to prepare muscles for activity. Focus on major muscle groups you'll be using. This can improve range of motion and muscle activation. (Consider the dynamic warm-up routines!)
- Post-Workout Recovery: Apply static pressure to areas of common tightness to aid in reducing muscle soreness and improving flexibility. This helps kickstart the recovery process.
- Active Recovery Days: Dedicate sessions to longer SMR, focusing on problem areas identified during workouts or movement assessments.
Remember, foam rolling is part of a holistic recovery strategy. It works best when combined with:
- Proper Nutrition: Adequate protein intake is crucial for muscle repair. Explore FitForge AI's nutrition guides.
- Adequate Sleep: Muscle repair primarily happens during sleep. Aim for 7-9 hours.
- Hydration: Essential for all bodily functions, including muscle recovery.
- Active Recovery: Gentle movement like walking or swimming can improve blood flow.
H3: When to Be Cautious
- Acute Injuries: Do not roll directly over a fresh injury, bruise, or inflammation.
- Joints and Bones: Avoid direct pressure on knees, elbows, ankles, wrists, and the spine itself.
- Nerve Areas: Be mindful of areas where nerves run close to the surface (e.g., behind the knee, sciatic nerve pathway).
- Medical Conditions: If you have a serious medical condition (e.g., osteoporosis, varicose veins, blood clotting disorders), consult your doctor before starting foam rolling.
H2: Beyond the Roll: Enhancing Your Recovery Ecosystem
While foam rolling is powerful, it's one piece of the puzzle. True performance enhancement comes from a comprehensive approach. Understanding your body's unique needs is key. The personalization quiz can help identify areas for improvement, whether it's in your training, nutrition, or recovery strategies.
H3: Listening to Your Body
NASM emphasizes the importance of listening to your body. Foam rolling shouldn't be excruciatingly painful. Discomfort is normal, but sharp, shooting pain is a signal to stop or ease up. Pay attention to how your body responds. Are you feeling less stiff? Moving better? Adjust your routine based on these observations.
H3: Consistency is Key
Like any training adaptation, the benefits of foam rolling compound over time. Aim for consistency rather than intensity. Incorporating it into your existing routine, even for just 5-10 minutes daily, will yield better long-term results than infrequent, lengthy sessions. Browse the extensive workout library and see where foam rolling fits best!
H2: Conclusion: Roll Your Way to Better Performance
Foam roller exercises for recovery are an accessible, effective tool for anyone looking to improve mobility, reduce muscle soreness, and accelerate their progress. By understanding the principles behind myofascial release and applying these techniques consistently, you can unlock new levels of performance and well-being.
Ready to take control of your fitness journey? FitForge AI provides the tools and knowledge to optimize your training, nutrition, and recovery.
Experience the FitForge AI difference with the FREE 7-day trial!